

How to create a bootable macOS Mojave installer drive
Whenever Apple releases a new version of macOS, I like to create a bootable USB installation drive. I test different Macs, and when I need to upgrade those machines, it’s a lot more efficient to plug in the USB installer drive and run the installer, than to log into the App Store, download the 5GB OS installer, and then run it.
Because it’s so easy to create an external installation drive, it’s my preferred means of installing the OS. I keep it around for those time when I would rather use the drive than rely on booting in Recovery mode.
In this article I’ll go over the different ways you can create a bootable macOS Mojave installation drive. But before I give instructions on how to create the drive, I’ll go over the items you’ll need and how to get them.
Editor’s note: This tutorial was written using the first version of the macOS Mojave Public Beta. It will be updated whenever necessary when new versions of the Public Beta are released.
Macworld also has bootable-install-drive instructions for:
Get an external drive and maybe an adapter
The macOS Mojave Public Beta installer software is over 5GB. So you need a USB external drive that can hold that much data. The drive can be a thumb drive, hard drive, or SSD.
If you want to use a thumb drive, an 8GB drive works perfectly. I used an 8GB Kingston Data Traveler G4 ($9 on Amazon); it’s cheap and it supports USB 3.1, so it’s fast. I’ve also used a VisionTek 120GB USB 3.0 Pocket Solid State Drive ($100 on Amazon) and older USB thumb drives that support USB 2, which is slower, but works.
A VisionTek USB drive coneccted to a 2017 MacBook Pro via Apple’s USB-C VGA Multiport Adapter ($69).
If you have a 2015 or newer MacBook or a 2016 or newer MacBook Pro, you may need Apple’s $19 USB to USB-C adapter. This will allow you to connect a storage device that uses a USB type-A connector. If you don’t have an external drive and you have a USB-C Mac laptop, you could buy the SanDisk Ultra USB Type-C Flash Drive, which has a USB-C connector. You can get a 16GB version for $11 on Amazon.
When creating the boot drive, the storage device is reformatted, so there’s no need to format the drive beforehand.
Get the macOS Mojave installer software
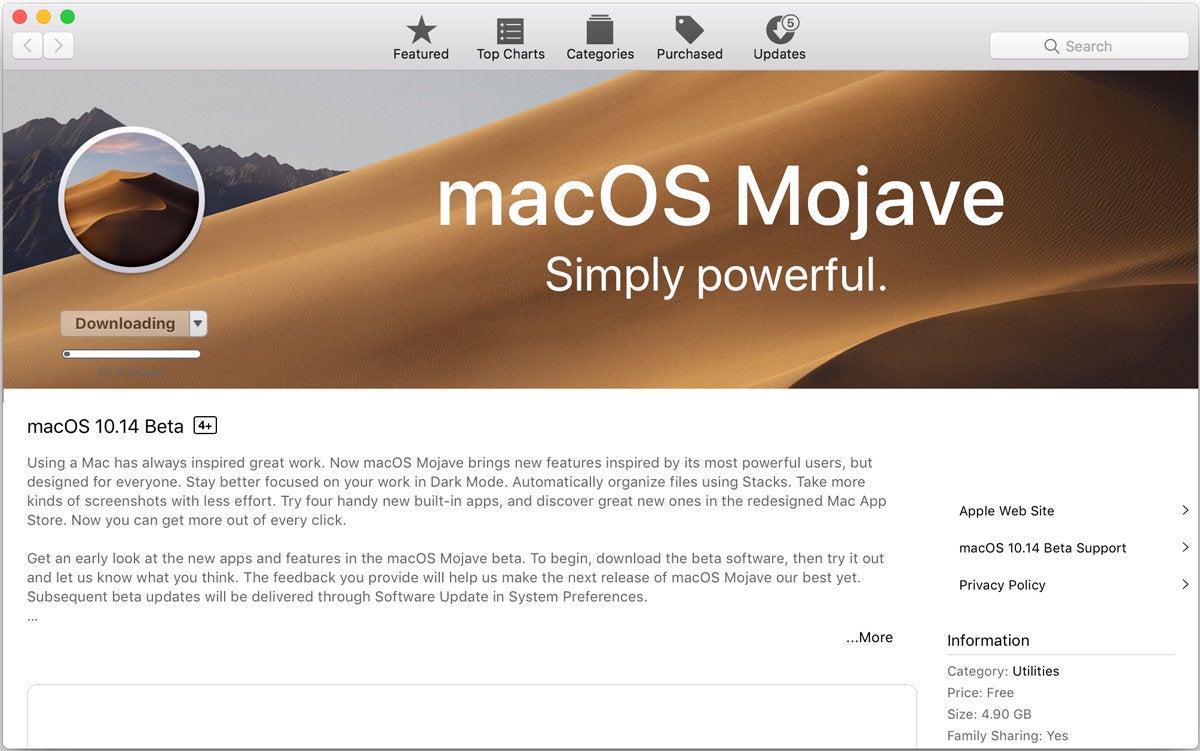
In order to get the Mojave installer, you need to sign up for the Apple Beta Software Program. Once you’re enrolled, Apple will give you access to the the Mojave installer in the App Store. If you launch the App Store app and look for it in the Updates section, you won’t find it.
Note that if you decide to participate in the Beta Software Program, there is a policy that Apple asks you to agree to. And keep in mind that this is beta software, so you could run into problems witht he OS and with the app that you use.
You can read the information to learn more about Mojave. When you’re ready to download the software, click the Download button under the icon on the upper left. (If you’ve already downloaded the installer, the button will say Open instead of Download.)
 Apple
AppleOnce the download is complete, the installer will launch automatically. But don’t continue with the installation. Instead, press Command-Q on your keyboard to quit the installer.
The Mojave installer app will be in your Applications folder, so you can go there and launch it later to upgrade your Mac to the new operating system.
Make a bootable installer drive: The quick way
I used a free app called Install Disk Creator to make the installation drive. There’s another app called Diskmaker X, but at the time of this writing I wasn’t able to make it work with the Mojave Public Beta installer.
Download Install Disk Creator by clicking on the link above. When the download is done, you can move it over to your Applications folder. Then follow these steps to create your bootable macOS Mojave drive.
1. Connect your drive to your Mac. It’s OK if it’s not formatted as a Mac drive. The app will reformat it.
2. Launch Install Disk Creator.
3. In the main window, you’ll see a pop-up menu under Select the volume to become the installer. Click on the menu and select your drive.
 IDG
IDGThe main window of Install Disk Creator.
4. Under the pop-up menu, you’ll see Select the OS X installer. (macOS used to be called OS X.) If you have only the Mojave Beta installer on your Mac, Install Disk Creator will automatically select it. If you have other macOS installers, you need to click on Select the OS X installer and select the Mojave installer.
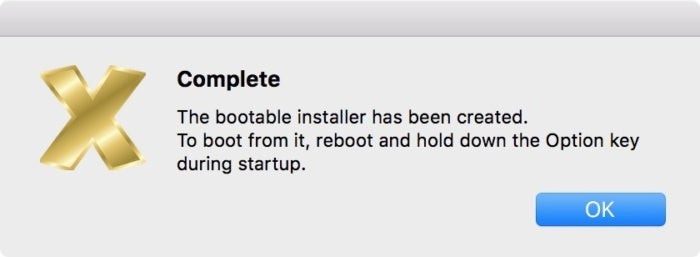
5. When you’re ready, click Create installer. Your Mac may tell you that Install Disk Creator wants to make changes, and you need to enter your user name and password. After you do this, the app will take a few minutes to create the boot drive. A progress bar. appears at the bottom of the Install Disk Create window.
When the app is done, the installer is ready to use.
 IDG
IDG