

How to update to two-factor authentication for an iTunes-only Apple ID
If you’re like me (and many of you are), you have two Apple IDs for historical reasons that you continue to use. Until the mythical future date at which Apple updates its back-end systems to achieve the glory obtained only decades ago by most businesses that manage accounts to allow merging purchases and other data from multiple IDs into a single one, we’re stuck with it.
(Sidebar: Many, many, many people write in regularly asking how to solve this problem, because they assume they simply haven’t found Apple’s merge-accounts options. It’s not you, folks.)
Years ago, iOS could interact poorly with two ID setup, but then Apple switched to embrace it fully. Now, in iOS 10, the Settings section for accounts even lists iCloud and Store as separate items if you’re using two accounts along with the email addresses for them. That’s a nice move.
However, you’re still left with a problem: if you want to use Apple’s two-factor authentication (2FA) system, and you’re using just a password now or Apple’s older-but-still-active two-step verification, you can’t switch 2FA on. That’s because as part of the 2FA upgrade, Apple moved the setup portion from its Apple ID website to Settings in iOS and the iCloud system preference pane in macOS. Further, 2FA lets you set trusted devices on which to receive login alerts and codes, but those can only be associated with a single Apple ID at a time.
Added to that? After June 15, Apple requires 2FA if you use third-party email, contacts, or calendar software that interact with iCloud. (I explain how to work with that requirement in a column last month, “Apple’s new iCloud security requirements: How it affects you and the software you use.”)
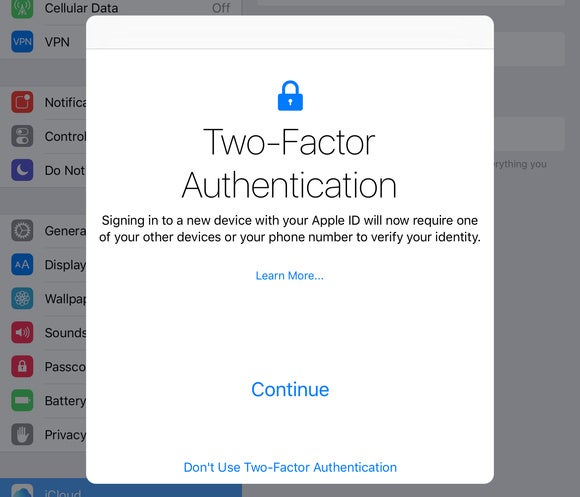
Apple’s 2FA system protects your account from someone who has obtained your password.
The easier way to work around this is with a Mac. Create a new account via the Users & Groups system preference pane, and then log into it. In that account, log into the Apple ID you use for purchases, and then follow the instructions to enable 2FA. (See the “Two-factor authentication with your Apple ID” section in my article on setting up a Mac securely.)
While Apple advises you to have trusted devices, you can get away with just trusted phone numbers, which can either receive a text message or a voice call. I’d suggest making sure you’re linked to a couple of different phone numbers just in case you lose access to one.
If you don’t have a Mac, you can use your iOS device, and log out of your iCloud-linked Apple ID and log into your purchased-linked one, and then follow the steps under Password & Security to enable 2FA. That can mess with your synced events and contacts, so if you have a spare iOS device on which you can set this up, it’s much better. In the most extreme case, you could back up your iOS device, wipe it and set it up fresh with your purchase-linked Apple ID, enable 2FA, and then erase it and restore it from the backup.
macOS 10.13 High Sierra and iOS 11 won’t work with two-step verification if you have it enabled, but according to email sent out by Apple right after its June 6 developer event keynote to anyone with two-step verification enabled, upgrading to iOS 11 or High Sierra betas will automatically upgrade the account to 2FA. However, it doesn’t explain what happens for those of us with separate iCloud and Store accounts.
Ask Mac 911
We’ve compiled a list of the questions we get asked most frequently along with answers and links to columns: read our super FAQ to see if your question is covered. If not, we’re always looking for new problems to solve! Email yours to mac911@macworld.com including screen captures as appropriate. Mac 911 can’t reply to—nor publish an answer to—every question, and we don’t provide direct troubleshooting advice.