
Notes 4.5 High Sierra: How to create a table, add and rearrange rows and columns
You don’t need to resort to Numbers of Excel if you want to create a document and want to use rows and columns to keep your data orderly.
Use a table to better organize your lists.
Apple Notes 4.5 High Sierra: How to create a table, add and rearrange rows and columns
(0:54)
Show More
“);});try{$(“div.lazyload_blox_ad”).lazyLoadAd({threshold:0,forceLoad:false,onLoad:false,onComplete:false,timeout:1500,debug:false,xray:false});}catch(exception){console.log(“error loading lazyload_ad “+exception);}});
In macOS High Sierra, Apple updated the Notes app with support for tables. Now you don’t need to resort to Numbers of Excel if you want to create a document and want to use rows and columns to keep your data orderly.
You still may want to use a spreadsheet app, especially if you are recording numerical data and want to perform functions, or you want to be able to sort your data in different ways. Notes’ tables don’t have functions like those; they are very basic grids.
Here’s how to create a table in Notes 4.5
Notes High Sierra: How to create a table
- Open the note where you want the table to appear or start a new note (Command-N).
- There are three ways to create a table:
- Click on the “Add a table” button on the toolbar (the one that has a grid icon).
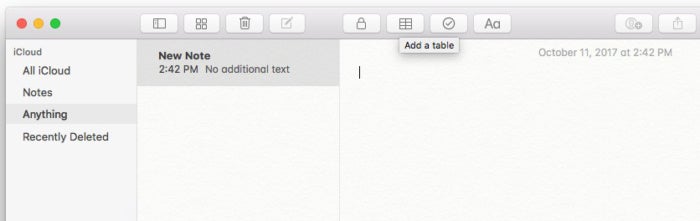 IDG
IDG - Right-click on the note to make a contextual menu appear. Then select Add Table.
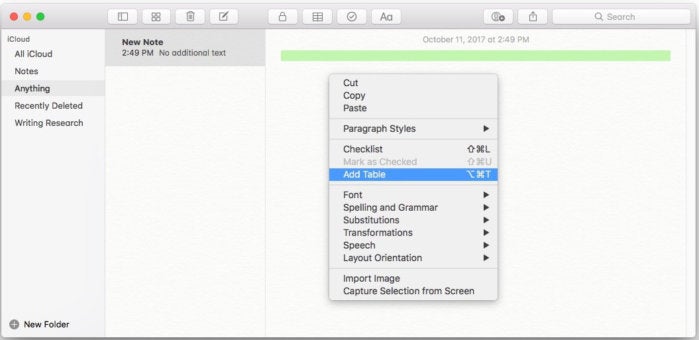 IDG
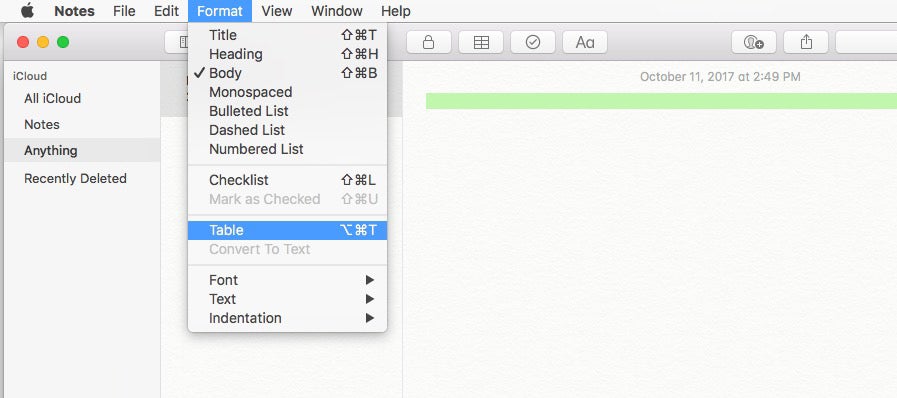
IDG - Click on Format in the menu bar, and then select Table.
 IDG
IDG


A new table with two rows and two columns will appear.
Notes High Sierra: How to add a column to a table
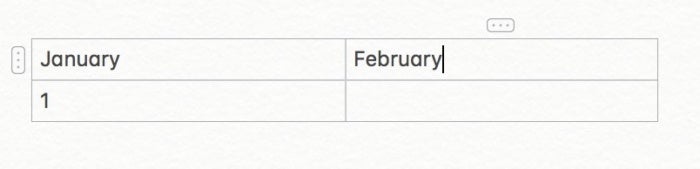
- Click anywhere in the column next to where you want the new column to appear. It can be to the left or right of where you want the new column. You want a rectangular icon with three dots to appear at the top of the column that you clicked.
 IDG
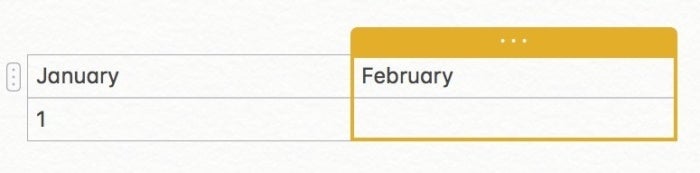
IDG - Click on the three-dot icon that appears. It should outline your column in orange.
 IDG
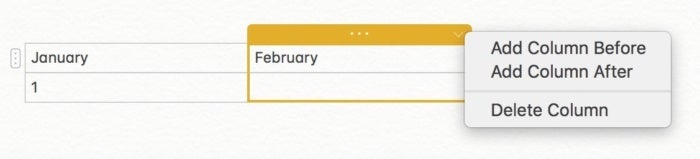
IDG - Click on the pop-up menu icon in the left corner of the shaded box. A menu appears with the options to Add Column Before (to the left), Add Column After (to the right), or to Delete Column. Select the option you want.
 IDG
IDG


You should now have a new column.
 IDG
IDGNotes High Sierra: How to add a row to a table
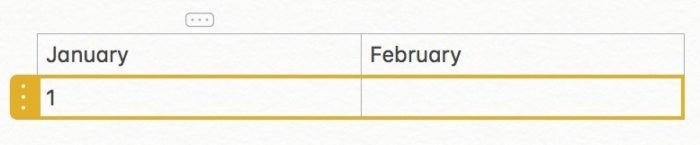
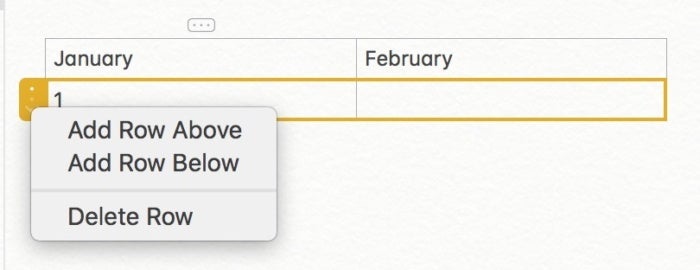
- Click anywhere in the row above or below where you want the new column to appear. You want a rectangular icon with three dots to appear at the left of the row that you clicked.
 IDG
IDG - Click on the three-dot icon that appears. It should outline your row in orange.
 IDG
IDG - Click on the pop-up menu icon at the bottom of the shaded box. (if you don’t see it, move your cursor to that spot and it will appear.) A menu appears with the options to Add Row Above, Add Row Below, or to Delete Row. Select the option you want.
 IDG
IDG


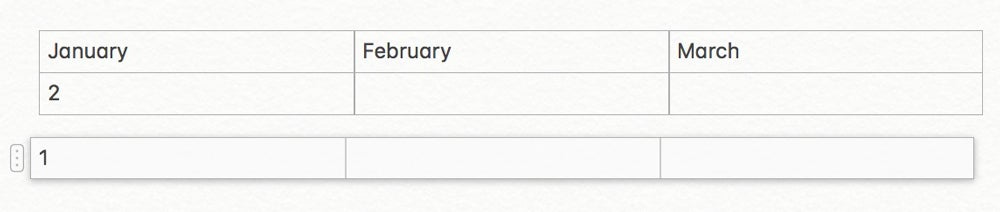
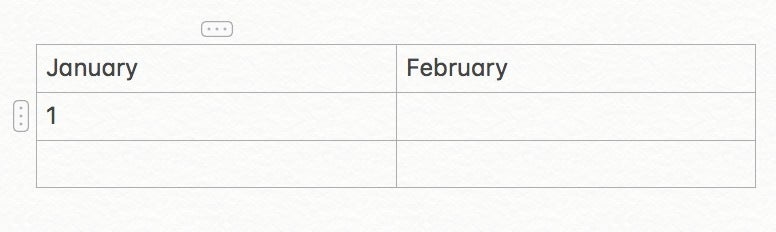
You should now have a new row.
 IDG
IDGNotes High Sierra: How to rearrange a column or row
- Click anywhere in the row or column you want to move. You want a rectangular icon with three dots to appear.
- Click on the rectangular icon and then drag the row or column to where you want to move it. Let go of the mouse button to place it.
 IDG
IDG